> ## Documentation Index
> Fetch the complete documentation index at: https://docs.salescaptain.com/llms.txt
> Use this file to discover all available pages before exploring further.

# Webchat Setup

> SalesCaptain’s webchat allows visitors to start conversations directly from your website by automatically routing new messages to your Inbox and helping your team respond faster. You can fully customize the widget’s look, behavior, and automated responses to fit your brand and business hours.

## **Webchat Configuration**

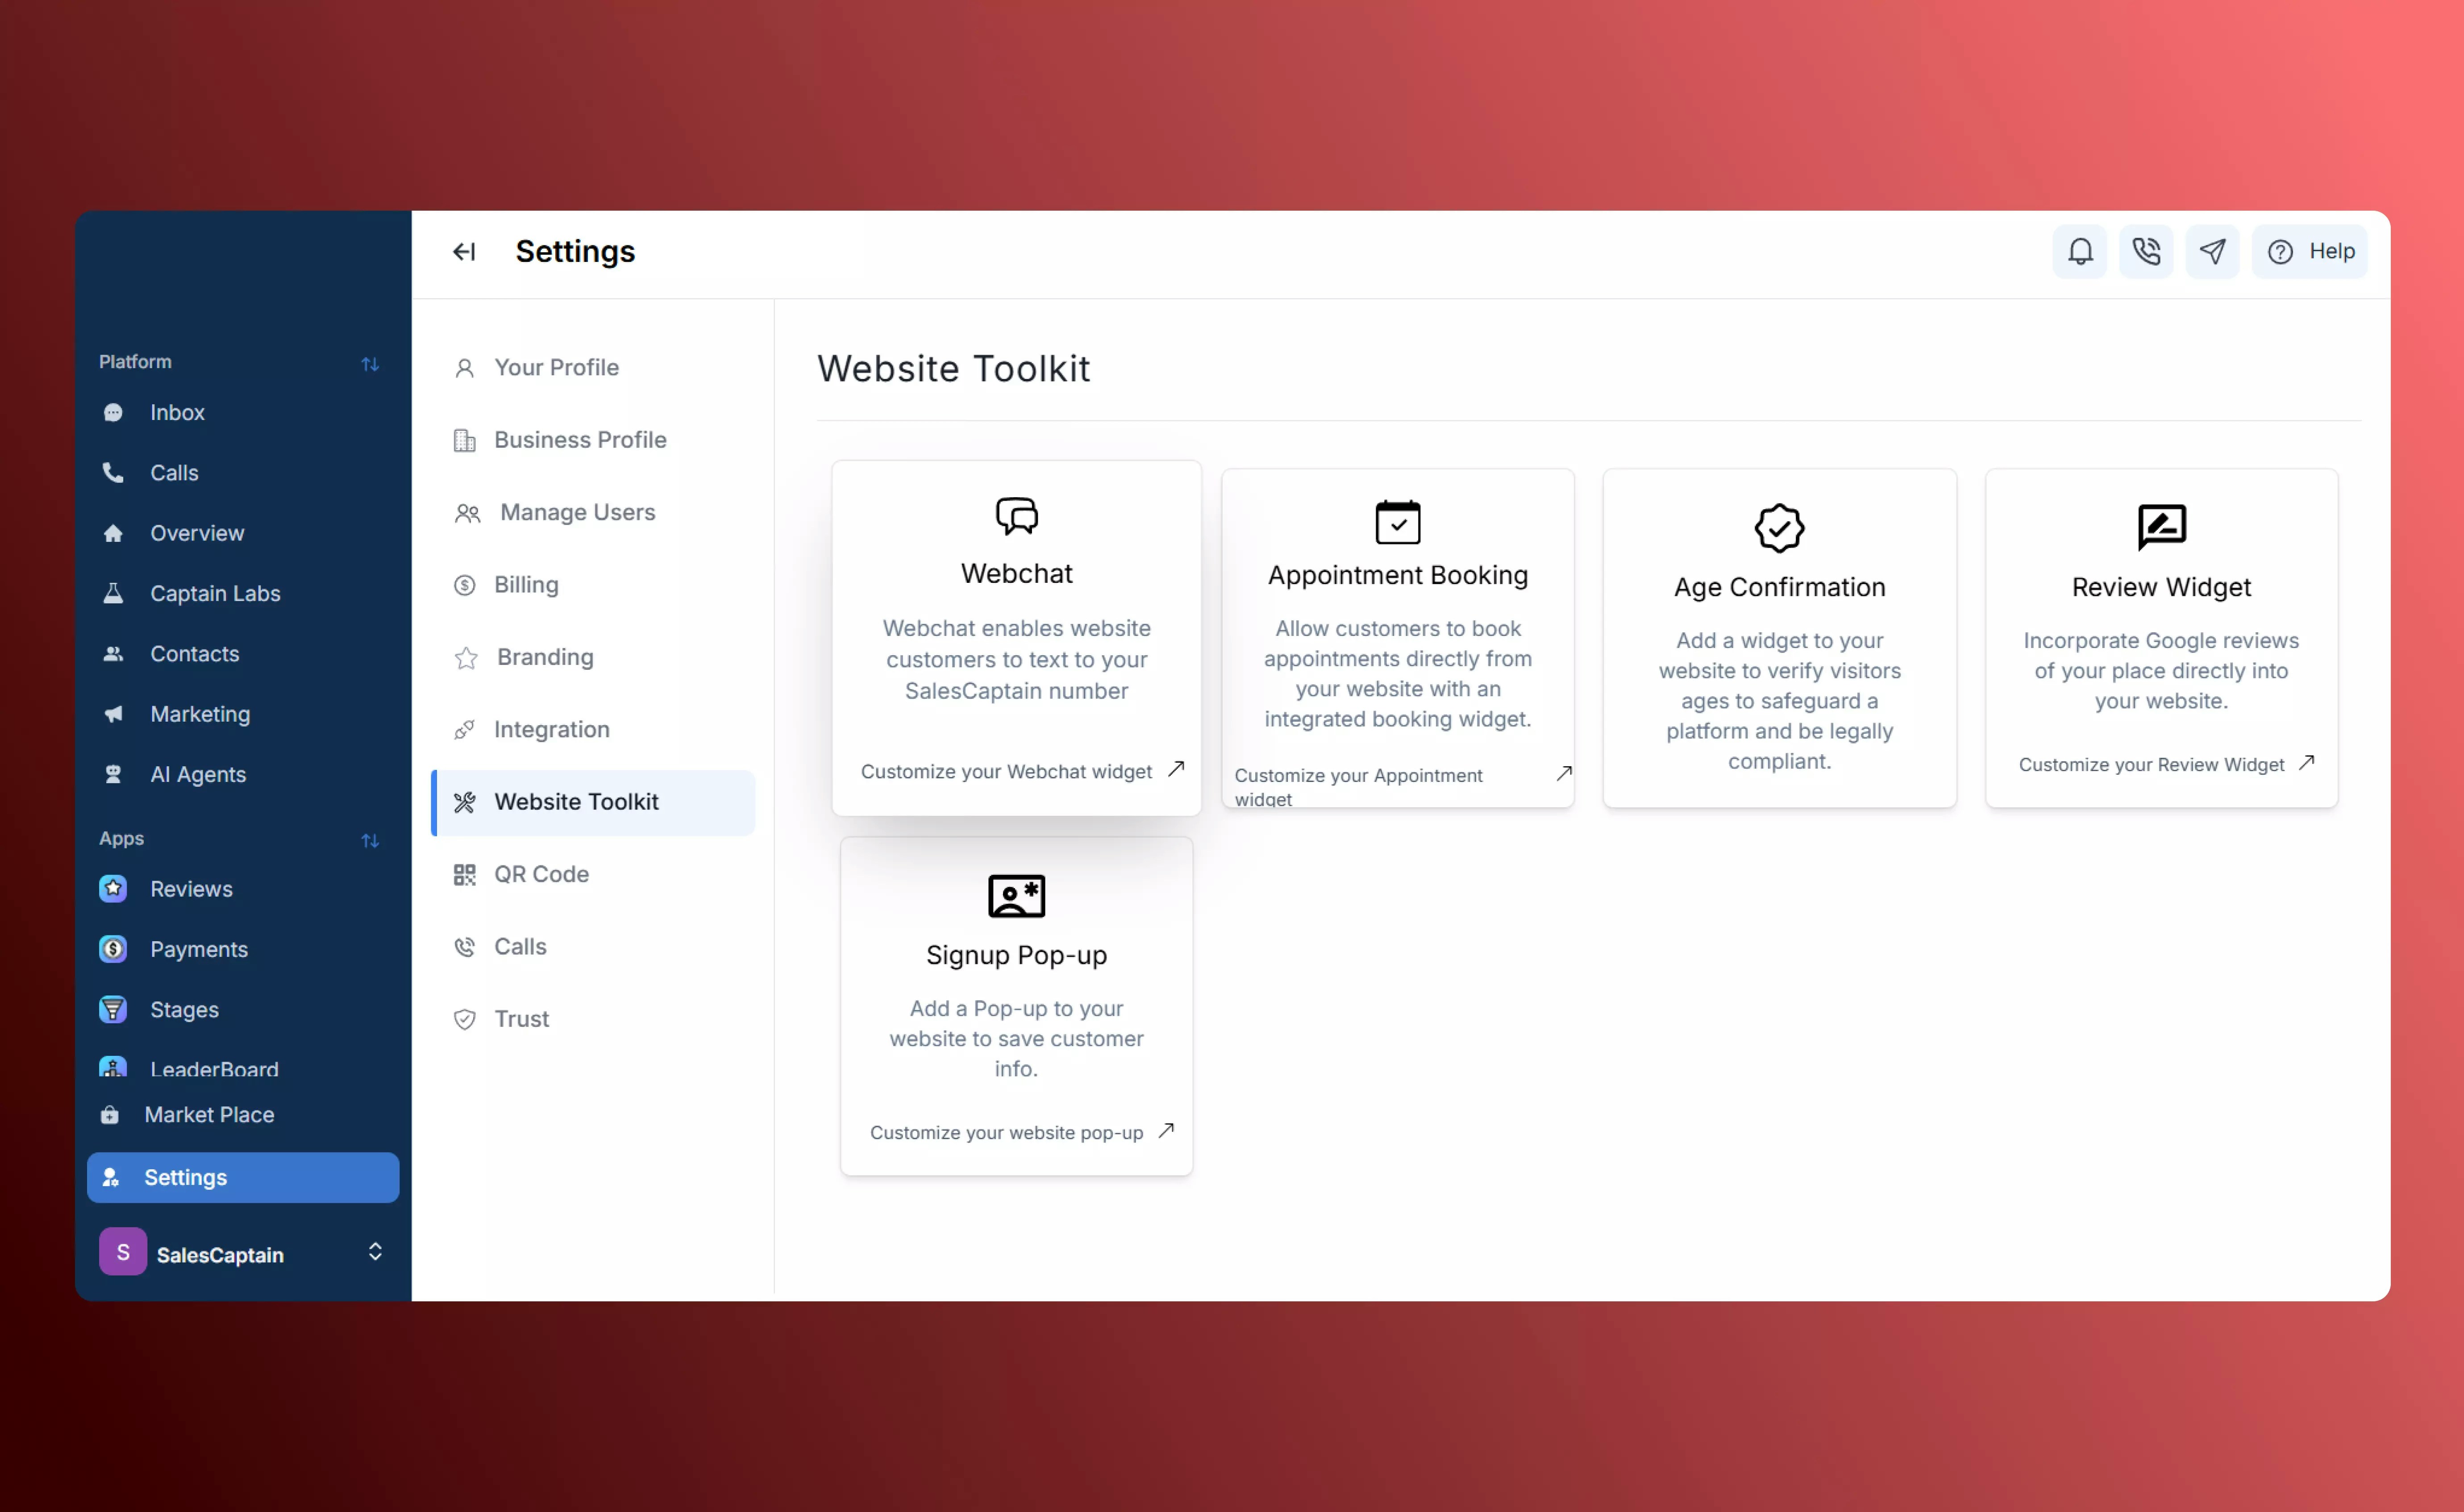
All webchat appearance and behavior settings can be customized by navigating to **Settings** → **Website Toolkit** page.
<Frame>
  <img src="https://mintcdn.com/salescaptain-42c66529/0ba_TPnBfyGGhl-o/images/webchat1.webp?fit=max&auto=format&n=0ba_TPnBfyGGhl-o&q=85&s=726e8cefd87897564f029b571eb116dc" alt="webchat 1.webp" width="5520" height="3388" data-path="images/webchat1.webp" />
</Frame>

## **Installation**

To install the webchat on your website:

1. Copy the generated code snippet from your SalesCaptain account.
2. Paste it into your website’s code base — ideally just before the closing \</body> tag.
3. Once installed, you’ll be able to see which pages of your website your leads are coming from, directly in SalesCaptain.

<Frame>
  <img src="https://mintcdn.com/salescaptain-42c66529/0ba_TPnBfyGGhl-o/images/webchat2.webp?fit=max&auto=format&n=0ba_TPnBfyGGhl-o&q=85&s=4f04b1280baf9734d19cf0a856a7a1e0" alt="webchat 2.webp" width="5520" height="3388" data-path="images/webchat2.webp" />
</Frame>

## **Chat Window Settings**

From the **Chat Window** tab, you can adjust how the webchat looks and behaves:

* **Customize Appearance:** Edit the chat header text, greeting message, and window colors to match your website’s branding.
* **Departments:** Enable department selection so visitors can choose which team (e.g., Sales, Support, Billing) they want to reach.
* **Form Fields:** Enable or disable form fields (like Name, Email, or Phone), or create your own custom fields.
* **Location Detection:** Automatically pre-select the nearest location based on the visitor’s browser location — useful for multi-location businesses.
* **CAPTCHA:** Enable CAPTCHA to prevent spam submissions.

<Frame>
  <img src="https://mintcdn.com/salescaptain-42c66529/0ba_TPnBfyGGhl-o/images/webchat3.webp?fit=max&auto=format&n=0ba_TPnBfyGGhl-o&q=85&s=f3c8143ba8d273c9a2d3e30b623cc73c" alt="webchat 3.webp" width="5520" height="3388" data-path="images/webchat3.webp" />
</Frame>

## **Editing Automated Webchat Messages**

To personalize the automated messages that appear in your webchat:

1. Go to your **Business Profile**.
2. Open the **Automated Messages** section.
3. Edit the following messages as needed:
   * **In-Hour Message** – The greeting shown during business hours.
   * **After-Hour Message** – The response shown when your team is offline.

These automated replies appear in the webchat and Inbox to help customers know when to expect a response.

## **FAQ Setup**

You can display key business information directly in your webchat:

1. Navigate to the **FAQ** section.
2. Add frequently asked questions and their answers.
3. These FAQs will appear inside the chat window, allowing customers to find quick answers before initiating a conversation.

<Frame>
  <img src="https://mintcdn.com/salescaptain-42c66529/0ba_TPnBfyGGhl-o/images/webchat4.webp?fit=max&auto=format&n=0ba_TPnBfyGGhl-o&q=85&s=7562888af44b9d37b9161a3d1d1515ec" alt="webchat 4.webp" width="5520" height="3388" data-path="images/webchat4.webp" />
</Frame>

## **Terms & Conditions**

For industries such as healthcare, you can add **Terms & Conditions** or **Age Verification** messages to ensure compliance.

* Create or link a **landing page** for your Terms and Conditions.
* Enable **age verification** if required before the chat begins.

<Frame>
  <img src="https://mintcdn.com/salescaptain-42c66529/0ba_TPnBfyGGhl-o/images/webchat5.webp?fit=max&auto=format&n=0ba_TPnBfyGGhl-o&q=85&s=0d168c5edd45c2bebcd055581658747b" alt="webchat 5.webp" width="5520" height="3388" data-path="images/webchat5.webp" />
</Frame>

## **Language Settings**

SalesCaptain supports multiple languages for the webchat interface.

* Choose your **default language**.
* Enable **language selection** to allow visitors to pick their preferred language from the chat window.

<Frame>
  <img src="https://mintcdn.com/salescaptain-42c66529/0ba_TPnBfyGGhl-o/images/webchat6.webp?fit=max&auto=format&n=0ba_TPnBfyGGhl-o&q=85&s=94a573b12d902dd587c6ced12a93238b" alt="webchat 6.webp" width="5520" height="3388" data-path="images/webchat6.webp" />
</Frame>

## **Final Check**

Once your settings are configured:

1. **Save your changes** in the Webchat Configurations page.
2. Visit your **live website** to confirm the widget displays correctly.
3. Test sending a message to ensure it routes to your Inbox and triggers the correct automated responses.

Your webchat is now fully set up and ready to capture leads directly from your website.
